Say Goodbye to Popcorn Ceilings: A Step-by-Step Guide
Welcome to our comprehensive guide on bidding farewell to popcorn ceilings. Whether you're looking to revamp your living space or eager to rid yourself of outdated home decor, popcorn ceiling removal is a transformative and rewarding project. Those bumpy, textured ceilings that were once popular for their acoustic properties can now be a thing of the past, as we walk you through the steps to achieve a smooth and modern finish in your home.
Say goodbye to the hassle of dealing with popcorn ceiling removal on your own, as we provide valuable insights on finding reputable ceiling removal contractors to assist you in this undertaking. From understanding the process of acoustic ceiling removal to exploring the latest techniques and trends in textured ceiling removal , our guide covers it all. Join us as we navigate through the world of popcorn ceiling removal, with a particular focus on the vibrant city of Toronto.
Preparing for Removal
Before beginning the process of removing your popcorn ceiling, it is important to prepare the space adequately. Start by clearing out the room of any furniture and covering the floors with protective sheets to prevent any damage from the removal process.
Next, make sure to turn off the electricity in the room where the removal will take place. This is crucial for safety reasons, as you will be working with water and potentially scraping tools that can pose a risk of electrical hazards if not handled properly.
Additionally, it is recommended to wear protective gear such as goggles, gloves, and a mask to ensure your safety and minimize exposure to any dust particles that may be released during the removal process.
Removing the Popcorn Ceiling
To begin the process of popcorn ceiling removal, it's important to prepare the area properly. Start by clearing the room of any furniture and covering the floors with plastic sheets to catch debris. Next, ensure you have the necessary safety equipment such as goggles, a dust mask, and gloves to protect yourself during the removal process.
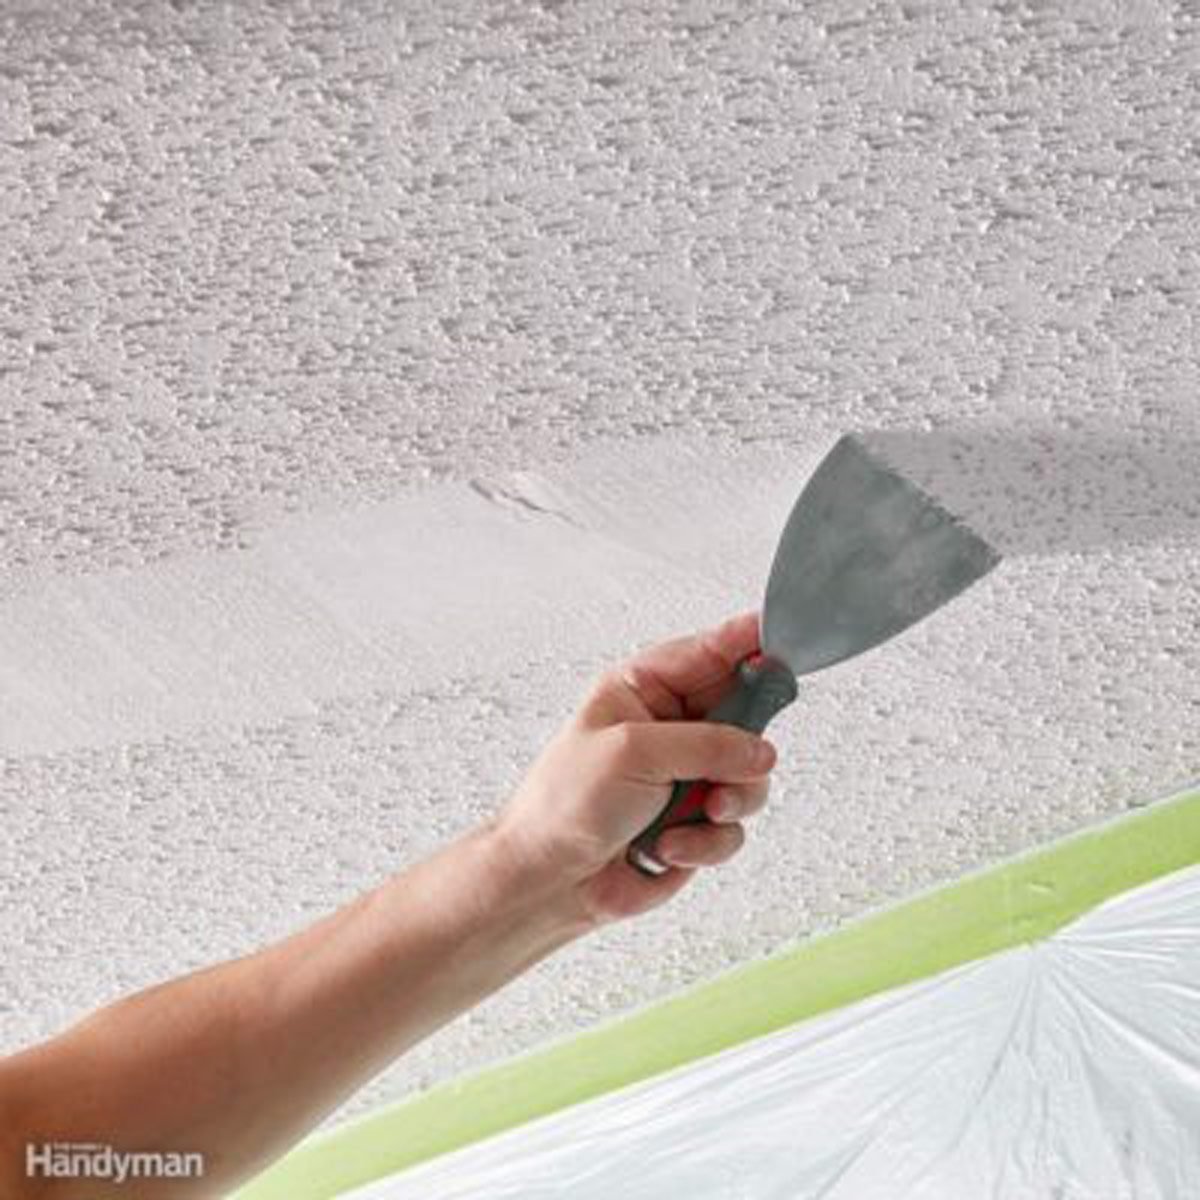
Once you have prepared the room, it's time to tackle the actual removal of the popcorn ceiling. Begin by spraying a small section of the ceiling with water using a pump sprayer. This will help soften the texture, making it easier to scrape off. Use a ceiling scraper or putty knife to gently remove the popcorn texture, taking care not to damage the underlying surface.
After you have scraped off the majority of the popcorn texture, inspect the ceiling for any remaining residue. Use a sanding pole with 120-grit sandpaper to smooth out the surface and ensure a clean finish. Finally, wipe down the ceiling with a damp cloth to remove any remaining dust or debris, and your ceiling is now ready for a fresh coat of paint or a new ceiling treatment.
Finishing Touches
After the popcorn ceiling has been successfully removed, the next step is to ensure the ceiling is smooth and ready for a fresh coat of paint. Begin by sanding down any rough patches or uneven areas to create a uniform surface. This will help the new paint adhere better and result in a more polished look for your room.
Once the sanding is complete, take some time to inspect the ceiling for any imperfections or missed spots. Touch up any areas that may need additional smoothing or filling to achieve a flawless finish. Pay attention to corners and edges where popcorn texture might still linger, as these areas often require extra care.
Finally, before painting, make sure to thoroughly clean the ceiling to remove any dust or debris from the sanding process. Using a damp cloth or sponge, wipe down the entire surface to ensure it's free of any residue. Once clean and dry, your ceiling will be prepped and ready for a new coat of paint to complete the transformation.